

Mini Chocolate Lava Cakes are a perfect indulgence for anyone who loves the combination of rich, molten chocolate at the center of a delicate cake. This dessert is surprisingly easy to make with just a few ingredients, and it’s sure to impress anyone who gets a taste. Whether you’re preparing it for a special occasion or a spontaneous treat, this recipe ensures you’ll have perfectly gooey lava cakes every time. Let’s dive into how you can make these delightful cakes at home.
What Are Mini Chocolate Lava Cakes?
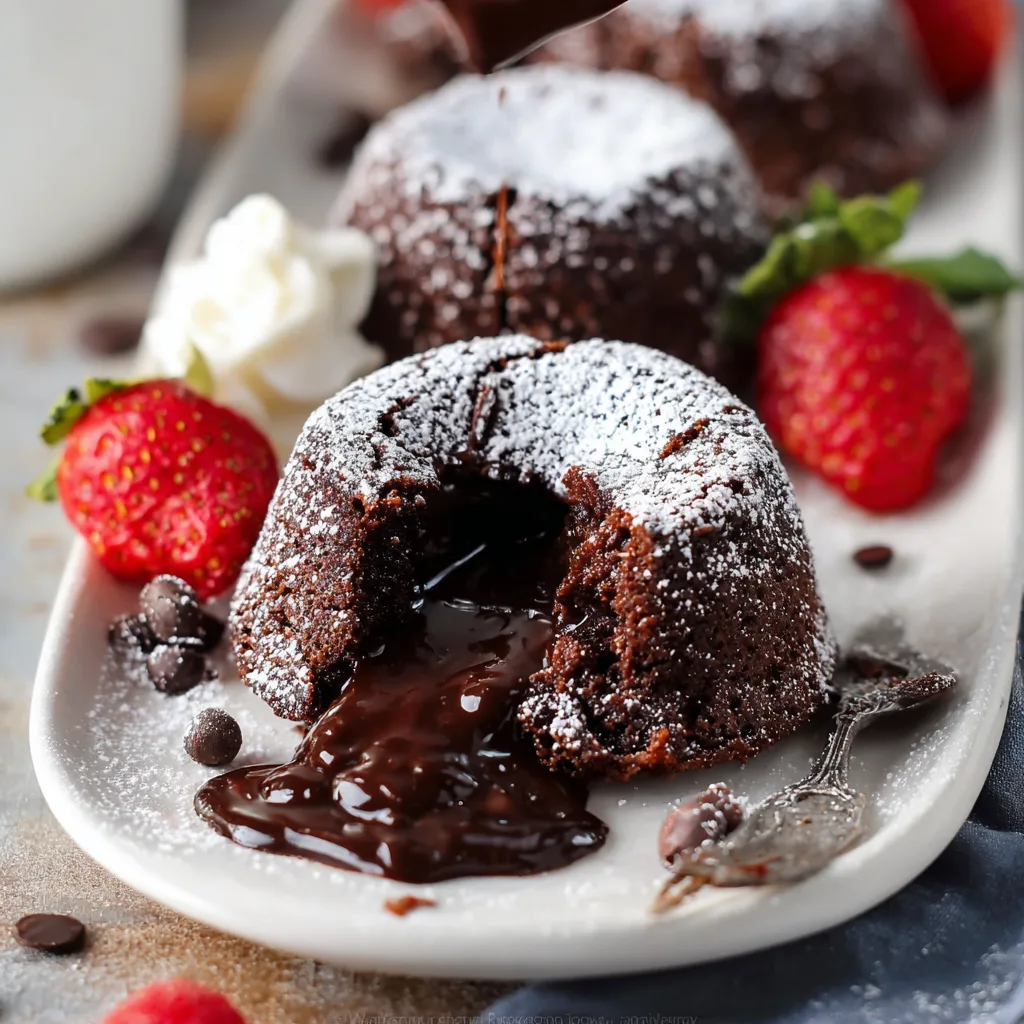
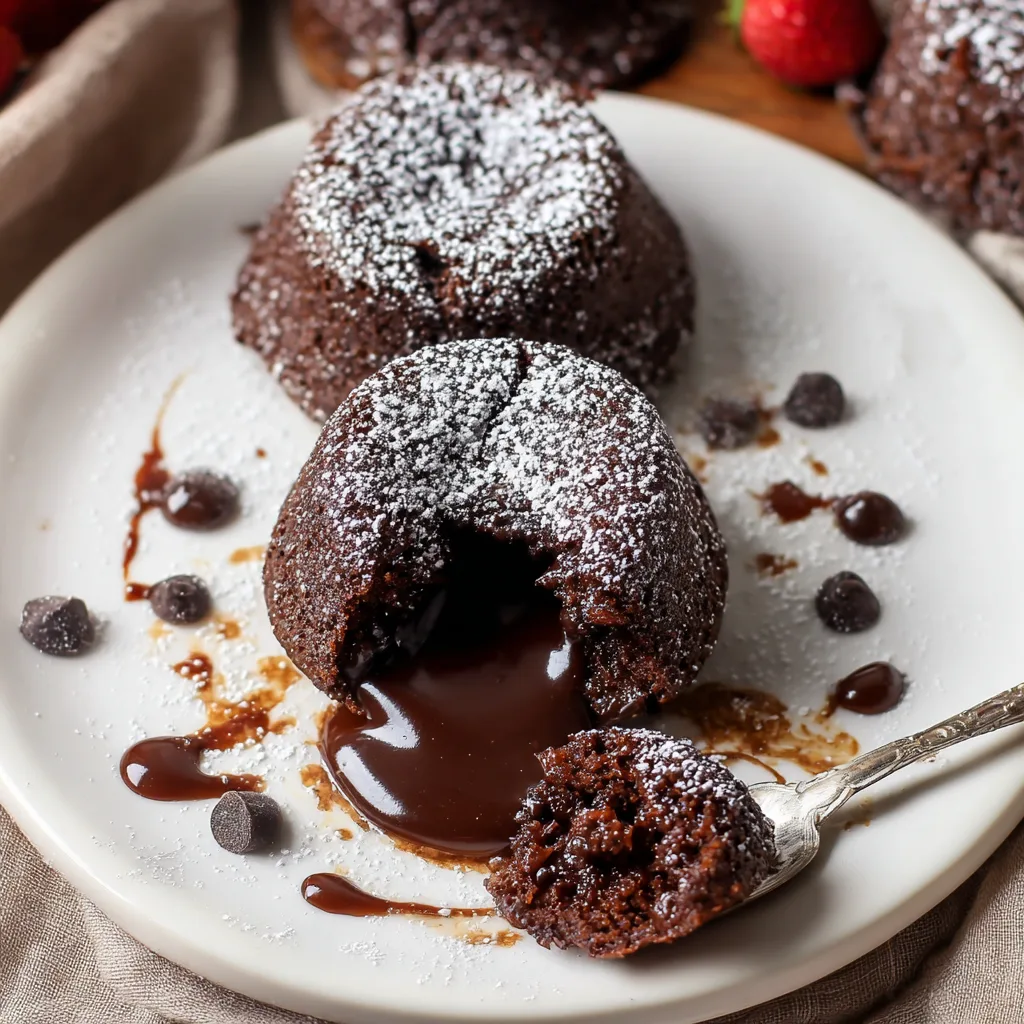
Mini Chocolate Lava Cakes are individual-sized cakes that have a rich molten chocolate center, creating a delicious contrast between the soft, warm exterior and the gooey, gooey center. These cakes are also called molten chocolate cakes or chocolate fondants, and they’re popular for their irresistible texture and deep chocolate flavor.
Features of Mini Chocolate Lava Cakes:
-
Warm and Rich Flavor: The primary flavor is deep, bittersweet chocolate that melts in your mouth.
-
Gooey Molten Center: The key characteristic of a lava cake is its center, which remains soft and liquid even after baking.
-
Quick and Easy to Prepare: Despite its sophisticated appearance, this dessert can be made in just 25 minutes.
-
Customizable Toppings: You can pair your lava cake with various toppings like ice cream, whipped cream, or fresh berries for an extra touch of luxury.
Ingredients You’ll Need
To make these delightful lava cakes, you’ll need just a handful of basic ingredients. But, it’s crucial to use high-quality chocolate to achieve that perfect molten center.
Main Ingredients:
-
High-Quality Semi-Sweet Chocolate: 6 ounces (170g) – Make sure to use pure chocolate baking bars, not chocolate chips.
-
Unsalted Butter: ½ cup (113g), as butter is key to the texture.
-
All-Purpose Flour: ¼ cup (31g), gives the batter structure without compromising the molten center.
-
Confectioners’ Sugar: ½ cup (60g), sweetens the cake without overwhelming the chocolate flavor.
-
Salt: ⅛ teaspoon, enhances the sweetness and depth of flavor.
-
Large Eggs: 2 whole eggs.
-
Large Egg Yolks: 2 additional egg yolks, essential for the richness and gooey center.
Optional Toppings:
-
Vanilla Ice Cream
-
Whipped Cream
-
Fresh Berries (like raspberries or strawberries)
-
Chocolate Syrup
-
Caramel Sauce
Special Tools (Optional):
-
6-Ounce Ramekins or Muffin Pan: For baking the lava cakes. Ramekins are preferred as they give the best shape for the molten center.
How to Make Mini Chocolate Lava Cakes: Step-by-Step
Making these cakes is simple and quick. With a few basic steps, you’ll have rich, molten lava cakes ready to serve in under 30 minutes. Let’s break it down:
Step 1: Preheat the Oven and Prepare Your Baking Dishes
Start by preheating your oven to 425°F (218°C). This high temperature ensures the outer layer of the cake bakes while the inside remains molten.
-
Prepare ramekins: Grease four 6-ounce ramekins (or a muffin pan if you’re making six cakes) with nonstick spray. Dust them lightly with cocoa powder to ensure the cakes release easily after baking.
Step 2: Melt the Chocolate and Butter
Coarsely chop 6 ounces of semi-sweet chocolate and add it to a medium heatproof bowl. Place the butter on top of the chocolate. Microwave in short 10-second increments, stirring in between, until the chocolate and butter are completely melted and smooth.
This step is crucial because the chocolate mixture creates the rich, gooey center of the lava cake. The key here is not to overheat the chocolate, as it can seize up or burn. Allow the mixture to cool slightly before moving to the next step.
Step 3: Mix Dry Ingredients
In a small bowl, whisk together:
-
¼ cup of all-purpose flour
-
½ cup of confectioners’ sugar
-
⅛ teaspoon of salt
Mixing these ingredients together ensures they’re evenly distributed, which helps in preventing clumps in your batter.
Step 4: Add Eggs and Egg Yolks
In another bowl, whisk together 2 whole eggs and 2 egg yolks until fully combined. Once your chocolate mixture has cooled slightly, slowly incorporate the eggs into the chocolate using a spatula. Stir gently to avoid curdling the eggs.
Once combined, fold in the dry ingredients into the chocolate mixture, stirring until the batter is smooth and free of lumps. The consistency will be a bit thick.
Step 5: Spoon the Batter into Ramekins
Spoon the batter evenly into the prepared ramekins (or muffin cups). Make sure to leave a little space at the top, as the cakes will rise while baking.
Step 6: Bake
Place the filled ramekins onto a baking sheet and bake for 12-14 minutes (8-10 minutes if using a muffin pan). The sides of the cakes should be set and firm, while the center should remain slightly jiggly and soft.
Tip: Be careful not to over-bake. The gooey center is what makes the lava cake so special, and over-baking will cause it to firm up.
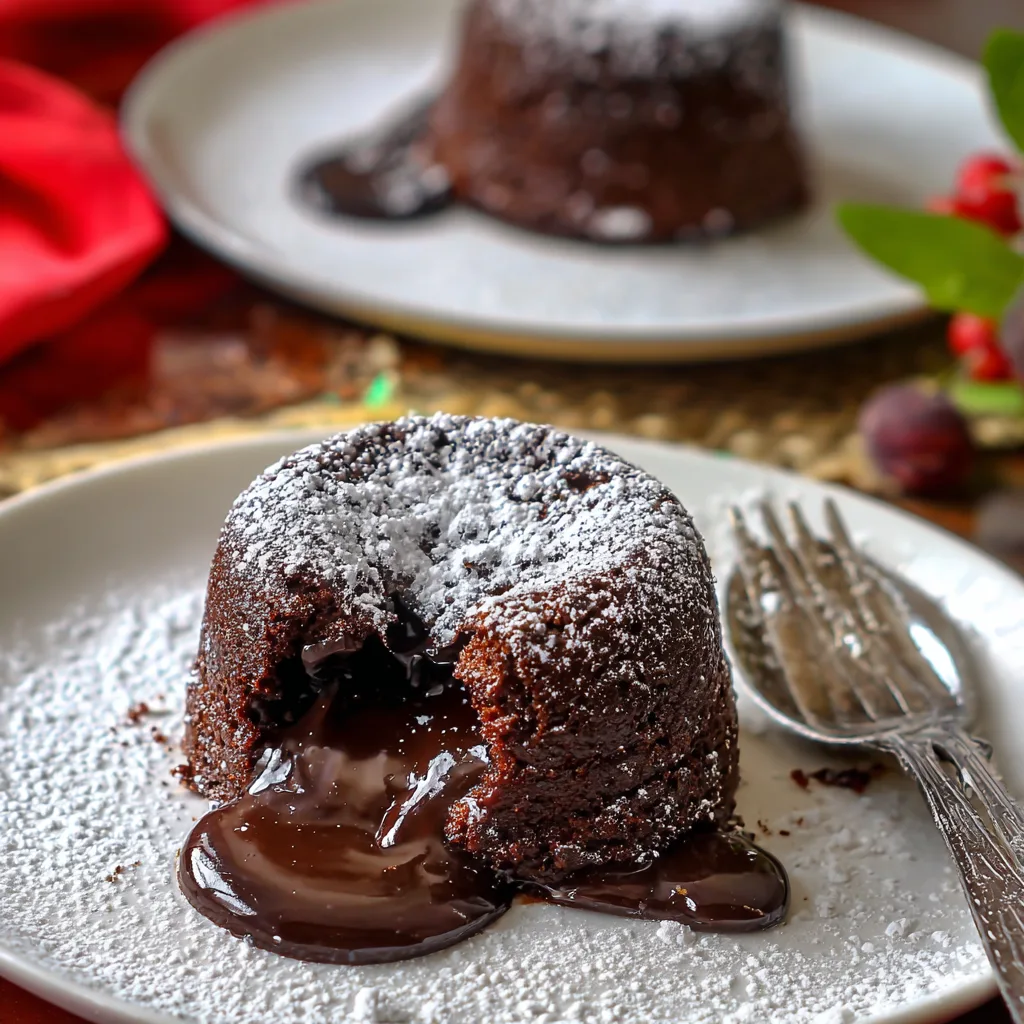
Step 7: Invert and Serve
Once baked, allow the lava cakes to cool for about 1 minute. Then, carefully invert each ramekin onto a plate. Use an oven mitt to handle the hot ramekins.
The cakes should slide out easily, but if they don’t, gently run a knife around the edges of the ramekin to help loosen them.
How to Serve Mini Chocolate Lava Cakes
Once your lava cakes are inverted onto plates, the real fun begins: the toppings! These cakes are delicious on their own, but adding some extras can take them to the next level. Here are a few popular ways to serve your Mini Chocolate Lava Cakes:
Delicious Topping Ideas:
• Vanilla Ice Cream: The coolness of the ice cream perfectly contrasts the warmth of the lava cake, creating a delightful balance of flavors and temperatures.
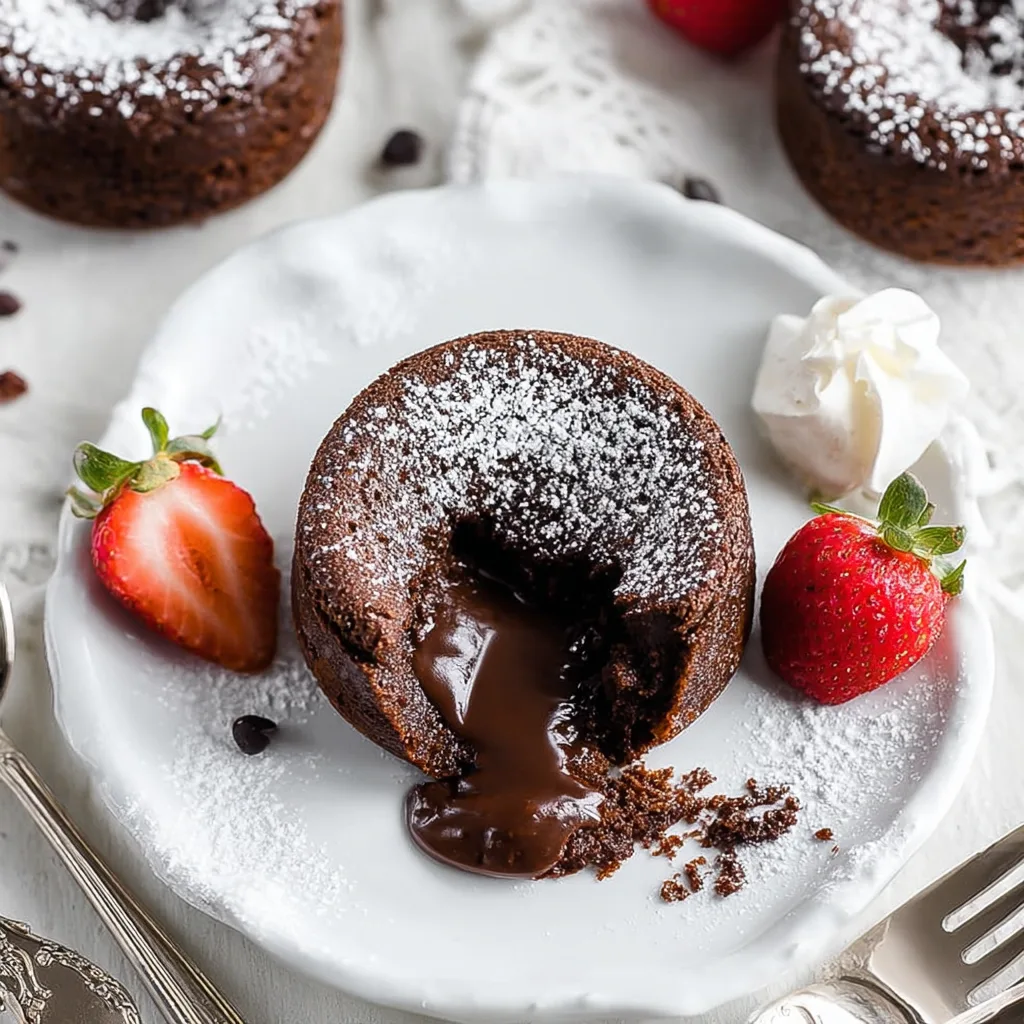
• Fresh Berries: Raspberries, strawberries, or blueberries add a refreshing, slightly tart touch that complements the sweetness of the cake.
• Whipped Cream: A light, fluffy topping that adds a smooth texture, perfect for pairing with the dense, chocolatey cake.
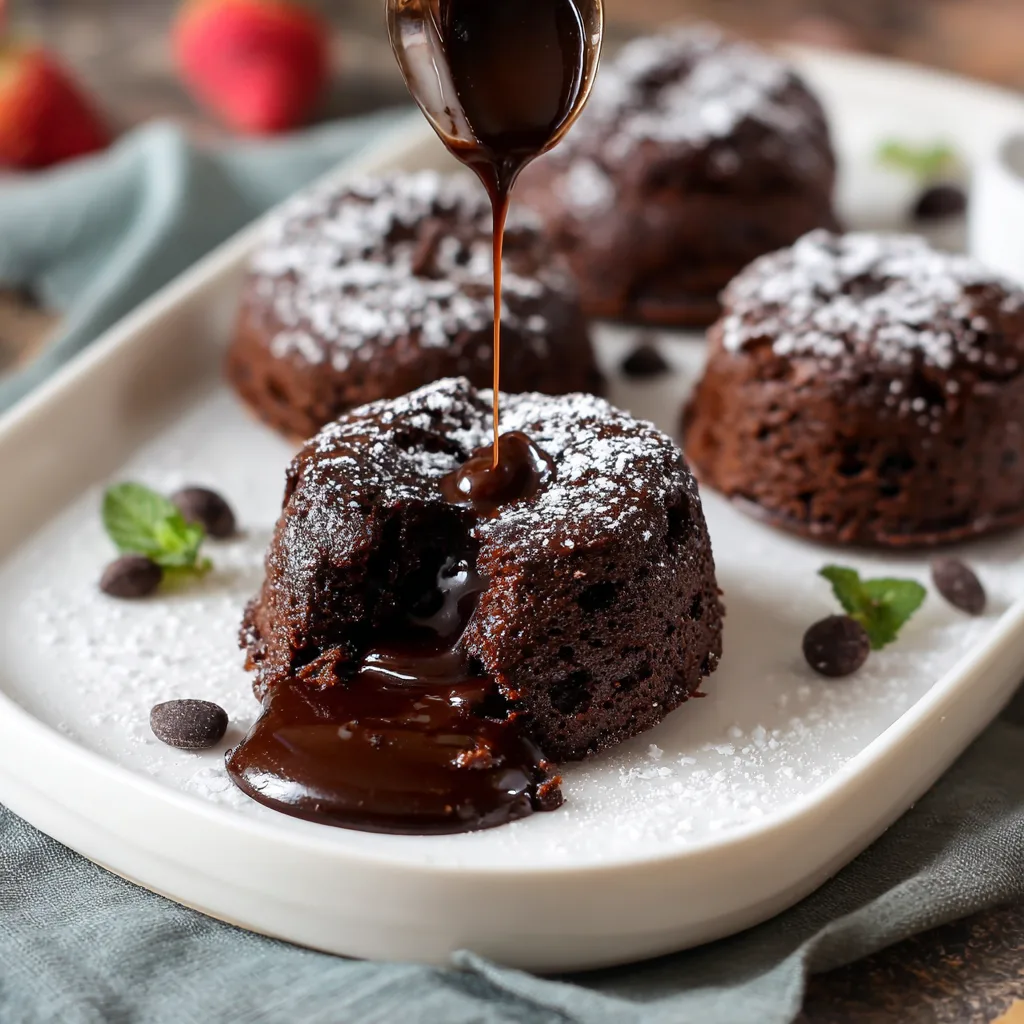
• Chocolate Syrup: For those who can’t get enough of chocolate, drizzle some warm chocolate syrup over the top.
• Salted Caramel Sauce: This adds a hint of salty sweetness that pairs beautifully with the rich chocolate.
• Melted Nutella or Peanut Butter: For a twist, drizzle some Nutella or peanut butter on top for extra richness.
Don’t be afraid to get creative with your toppings—anything that pairs well with chocolate can be a perfect complement.
Tips for Perfect Mini Chocolate Lava Cakes
While this recipe is simple, there are a few tips and tricks that can help ensure your lava cakes come out perfectly every time.
1. Use High-Quality Chocolate
The chocolate is the star of this recipe, so don’t skimp on quality. Always use baking chocolate (such as Ghirardelli or Lindt) rather than chocolate chips, which can melt differently and may not produce the best lava center. Opt for semi-sweet chocolate for a balanced sweetness.
2. Don’t Over-Bake
The key to achieving that gooey, molten center is not over-baking the cakes. Keep a close eye on the baking time, especially if you’re using a muffin pan, as these cakes bake faster. The cakes should look set around the edges, but the center should still be soft and a little jiggly. You’ll know they’re done when the edges are firm but the center is still soft and slightly undercooked.
3. Make-Ahead and Freezing Instructions
If you’re preparing ahead of time, you can refrigerate the batter for up to 2 days. Simply prepare the batter up to step 4, cover it tightly, and store it in the fridge. When you’re ready to bake, let the batter come to room temperature before continuing with the recipe.
You can also freeze the baked lava cakes for up to 3 months. Allow them to cool completely, then wrap them tightly in plastic wrap and store them in an airtight container. To reheat, microwave on low or bake in the oven at 350°F (177°C) for 10-12 minutes.
4. Experiment with Flavors
While the classic chocolate version is delicious, you can experiment by adding a twist. Try substituting the semi-sweet chocolate with white chocolate for a different flavor profile, or add a few teaspoons of espresso powder to the batter for a mocha flavor.
5. Serve Immediately
Lava cakes are best served immediately after baking while the center is still molten and gooey. The warm center is the hallmark of the dish, so make sure to enjoy them right after they’re inverted onto the plate. If you wait too long, the lava may solidify.
FAQs on Mini Chocolate Lava Cakes
When making Mini Chocolate Lava Cakes, it’s natural to have a few questions. Let’s address some of the most common ones to ensure your lava cake experience is as smooth as possible.
1. Can I Make Mini Chocolate Lava Cakes Without Ramekins?
Yes! If you don’t have ramekins, you can use a muffin pan to bake the cakes instead. Just grease the muffin cups and dust them with cocoa powder to prevent the cakes from sticking. The recipe will yield 6 cakes instead of 4, and the baking time will be slightly shorter—about 8-10 minutes.
2. Can I Make Lava Cakes Gluten-Free?
Absolutely! To make your lava cakes gluten-free, you can substitute the all-purpose flour with a gluten-free flour blend. Just be sure to check that the flour blend is suitable for baking. Other than that, the recipe remains the same.
3. Can I Prepare Mini Chocolate Lava Cakes Ahead of Time?
Yes, you can make the batter in advance! Prepare the batter up to step 4 and refrigerate it for up to 2 days. When you’re ready to bake, let the batter come to room temperature before filling the ramekins and baking.
4. How Do I Know When Lava Cakes Are Done?
The key to perfect lava cakes is watching the baking time closely. When the edges are set and the top is slightly soft but not raw, they are ready. A slightly jiggly center indicates the lava cake is perfectly cooked. If you’re uncertain, you can also use a toothpick or skewer to test the edge of the cake. It should come out clean with only a few moist crumbs.
5. Can I Freeze Baked Lava Cakes?
Yes, you can freeze the baked cakes for up to 3 months. After they cool, wrap them in plastic wrap and store them in an airtight container. To reheat, microwave the cakes on low or bake them in the oven at 350°F (177°C) for 10-12 minutes.
Conclusion on Mini Chocolate Lava Cakes
Mini Chocolate Lava Cakes are a decadent treat that’s both impressive and simple to prepare. The combination of a warm, rich chocolate cake with a molten center makes them an irresistible dessert, whether you’re celebrating a special occasion or treating yourself after a long day. With the right tips and tricks, you’ll have perfectly gooey lava cakes every time.
The best part? These cakes are versatile! Customize your toppings, try different flavors, and experiment with different methods of baking. Whether you’re serving them with vanilla ice cream, fresh berries, or caramel sauce, this dessert never fails to delight.
Simple Mini Chocolate Lava Cakes Recipe
Ingredients
- 6 ounces 170g high-quality semi-sweet chocolate
- ½ cup 113g unsalted butter
- ¼ cup 31g all-purpose flour
- ½ cup 60g confectioners’ sugar
- ⅛ teaspoon salt
- 2 large eggs
- 2 large egg yolks
- Optional toppings: vanilla ice cream whipped cream, fresh berries, or chocolate syrup
Instructions
- Preheat the oven to 425°F (218°C). Grease four 6-ounce ramekins with nonstick spray and dust with cocoa powder.
- Melt the chocolate and butter in a microwave-safe bowl in 10-second increments, stirring in between until smooth. Let cool slightly.
- In a small bowl, whisk together flour, sugar, and salt. In another bowl, whisk the eggs and egg yolks.
- Combine the melted chocolate mixture with the dry ingredients and eggs. Stir until smooth and thick.
- Spoon the batter evenly into the ramekins. Bake for 12-14 minutes or until the edges are set but the center remains soft.
- Let cool for 1 minute before inverting the ramekins onto plates. Serve immediately with your favorite toppings.
Notes
- For a variation, try using white chocolate or adding a splash of espresso for a mocha flavor.
- You can prepare the batter ahead of time and refrigerate it for up to 2 days.
- Do not over-bake, as this will result in a firm center instead of the molten lava effect.
4. Nutritional Facts (per serving):
- Calories: 350
- Fat: 25g
- Carbohydrates: 35g
- Protein: 5g
- Fiber: 2g
- Sugar: 25g