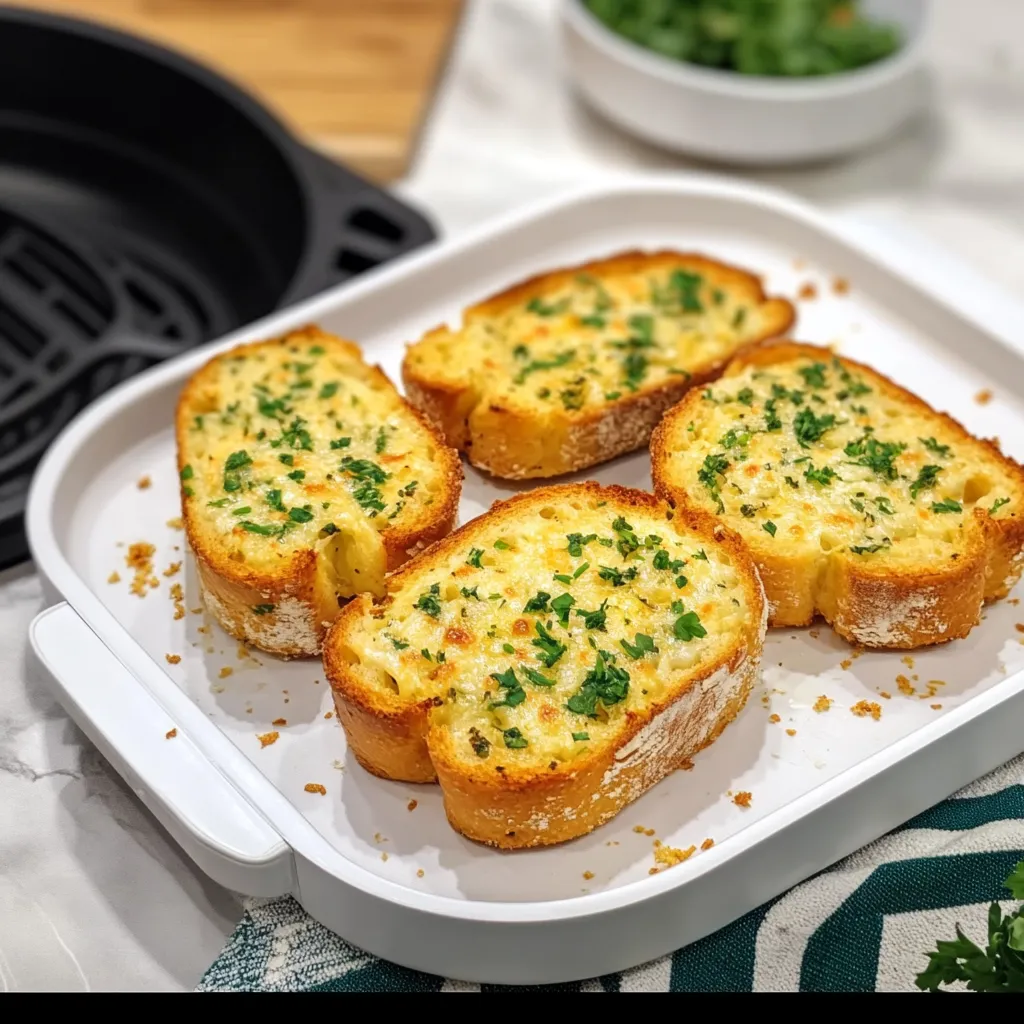
Air fryer garlic bread has become a game changer for anyone who loves a crunchy, buttery slice of bread to accompany their meals. Whether you’re serving it alongside a hearty pasta dish, dipping it into a rich tomato sauce, or just enjoying it on its own, this air fryer version delivers golden-brown perfection in just a few minutes. Plus, it’s incredibly easy to prepare, making it perfect for busy weeknight dinners or spontaneous snack cravings.
In this article, we’ll explore everything you need to know about making air fryer garlic bread, including essential ingredients, step-by-step instructions, helpful tips, and a variety of ways to customize the recipe to fit your tastes. Ready to elevate your garlic bread game? Let’s dive in!
Why Choose Air Fryer Garlic Bread?
The traditional way of making garlic bread often involves the oven, which can take longer and requires careful monitoring to prevent burning. With the air fryer, you get the same crispy, golden exterior and soft, buttery interior, but in a fraction of the time. Not only is it faster, but it also helps achieve that perfect texture without the need for extra oil or butter. Here are a few reasons why you should try making garlic bread in your air fryer:
-
Quick and Easy: Prepare and cook your garlic bread in less than 10 minutes.
-
Crispy Texture: The air fryer’s hot air circulation ensures a perfectly crispy crust every time.
-
Customizable: You can adjust the garlic and butter amounts to suit your taste, and even add extra ingredients like cheese.
-
Less Mess: No need to preheat the oven or deal with greasy baking trays. The air fryer basket keeps everything neat and easy to clean.
Ingredients for Air Fryer Garlic Bread
Making garlic bread in the air fryer is incredibly simple. With just a few basic ingredients, you can have garlic bread that’s full of flavor and ready in no time. Here’s what you’ll need:
-
Softened Butter
The base of the garlic bread mixture, butter helps create the deliciously rich and creamy texture. Unsalted butter is recommended, but salted butter can be used if that’s all you have. The key is to ensure that the butter is softened to spread evenly on the bread. -
Fresh Garlic
You can’t have garlic bread without garlic! Freshly minced garlic adds the best flavor to the bread. However, if fresh garlic isn’t available, garlic powder can be used as an alternative. -
Parmesan Cheese
A good amount of grated Parmesan cheese will give the garlic bread its signature savory flavor. It also melts beautifully to enhance the texture. -
Dried Parsley
Dried parsley gives the garlic bread a pop of color and adds an herbal flavor. If you have fresh parsley on hand, feel free to use it instead for an even fresher taste. -
Bread
The type of bread you use can impact the texture and flavor of your garlic bread. A classic baguette works wonderfully for this recipe, but you can also use ciabatta, sourdough, or any sturdy bread you prefer. Slice the bread to your desired thickness, keeping in mind that thinner slices will cook faster.
How to Make Air Fryer Garlic Bread
Ready to make your own air fryer garlic bread? Follow these simple steps, and in just a few minutes, you’ll have the perfect side dish for any meal.
Step 1: Prepare the Garlic Butter Mixture
In a mixing bowl, combine softened butter, minced garlic, Parmesan cheese, and dried parsley. Use a spoon or whisk to mix the ingredients until fully combined. This is the flavorful spread that will be generously applied to your bread slices.
Step 2: Apply the Garlic Butter to the Bread
Slice your baguette (or other bread) into individual pieces, around 1-inch thick. Spread a generous layer of the garlic butter mixture on each slice. Make sure to cover the entire surface of the bread so each bite is bursting with flavor. If you love extra garlic, feel free to add more minced garlic to the butter mixture.
Step 3: Preheat the Air Fryer (Optional)
Some air fryers, like the Philips XXL, don’t require preheating, but others may benefit from a quick 2-3 minute preheat at 350°F (175°C). If your air fryer requires preheating, simply set the temperature and let it warm up before placing the garlic bread inside.
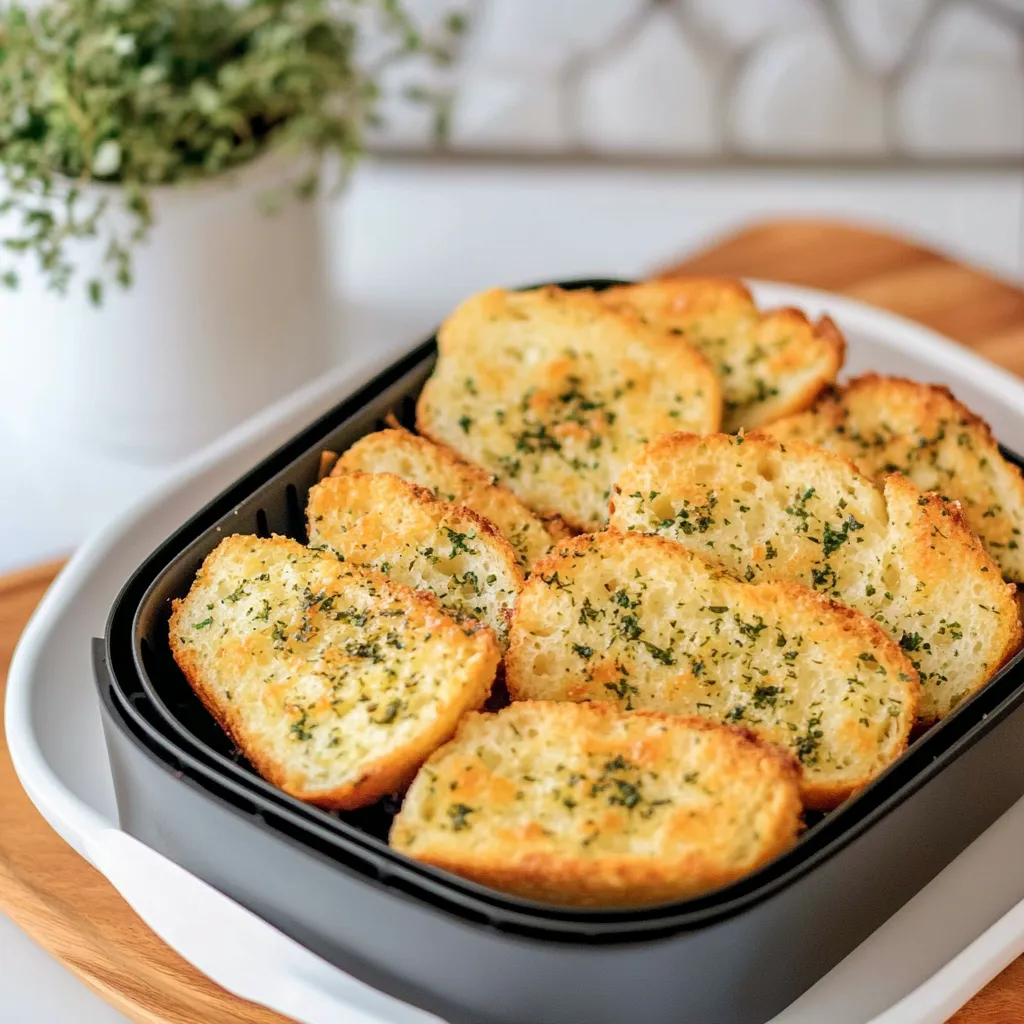
Step 4: Air Fry the Garlic Bread
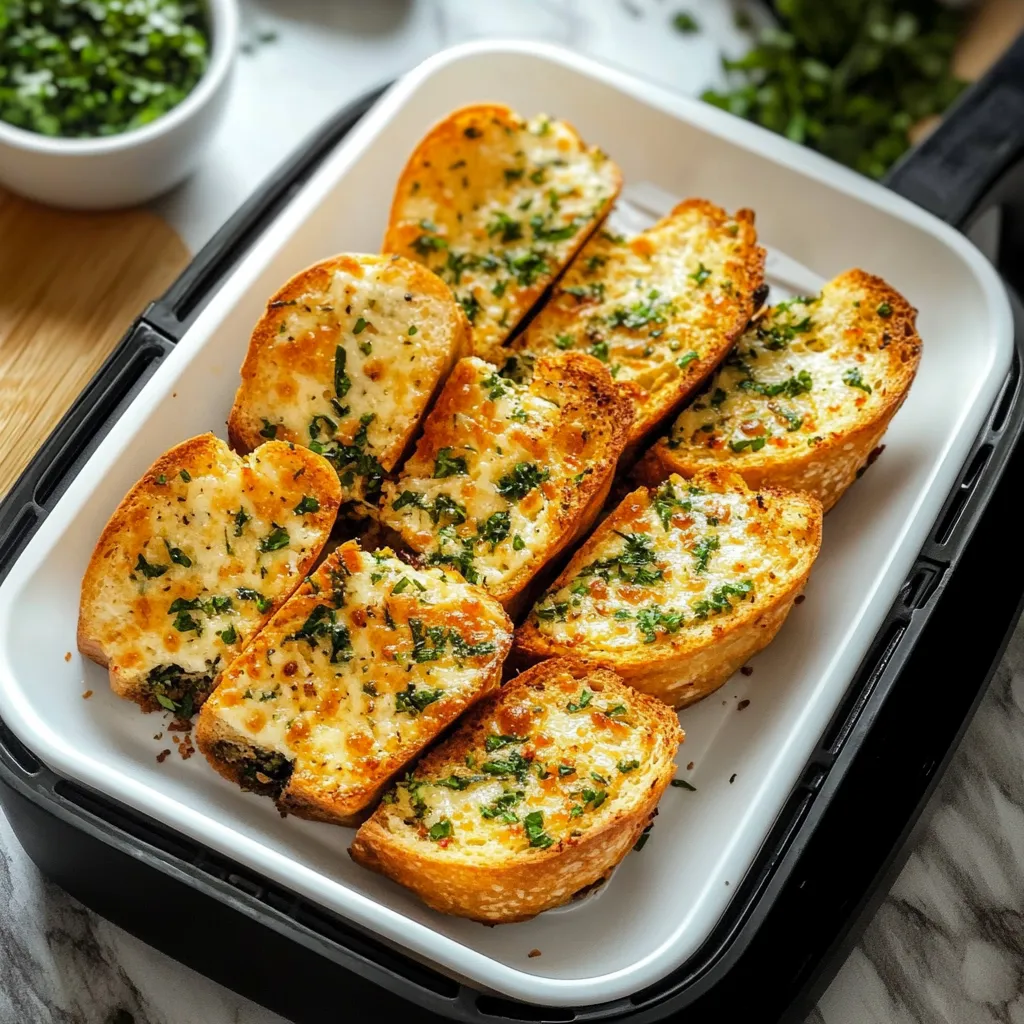
Place the garlic bread slices into the air fryer basket in a single layer. Make sure the slices aren’t stacked on top of each other, as this can cause uneven cooking. Set the air fryer to 350°F (175°C) and cook for about 5 minutes. Check halfway through to ensure the bread is browning evenly.
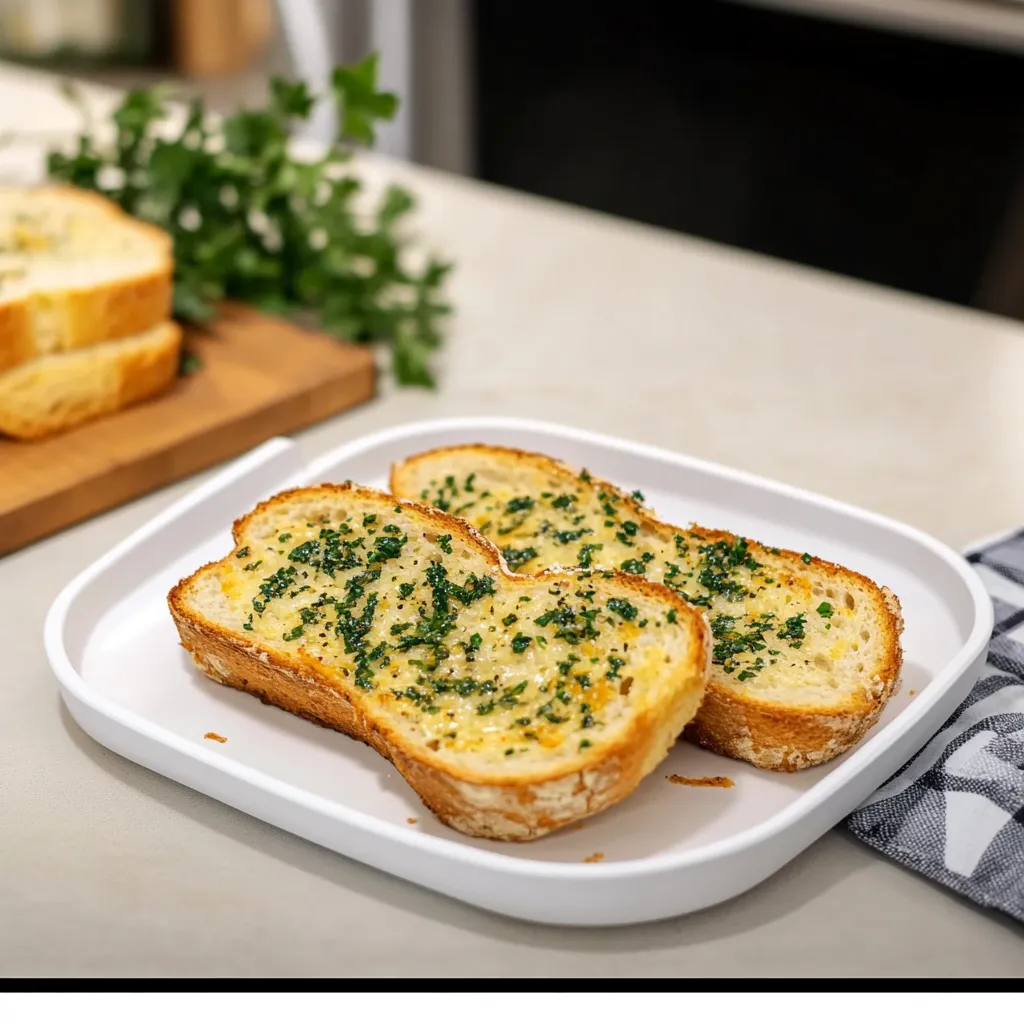
Step 5: Serve and Enjoy
Once the garlic bread is crispy and golden-brown, carefully remove it from the air fryer basket. Serve immediately alongside your favorite dishes. Whether you’re pairing it with pasta, soup, or enjoying it on its own, this garlic bread is sure to impress.
Tips for Perfect Air Fryer Garlic Bread
Achieving the perfect air fryer garlic bread is all about getting the right balance of crispy edges and soft, buttery centers. Here are a few tips to help you perfect the recipe:
-
Adjust Cooking Time for Crispy Bread
Everyone has different preferences when it comes to how crispy they like their garlic bread. If you like your garlic bread with a softer texture, check it at 4 minutes. For an extra crispy bite, increase the time to 6 minutes. -
Avoid Stacking the Bread
To ensure that the bread cooks evenly, avoid stacking the slices in the air fryer basket. If you’re making a large batch, cook the garlic bread in batches to allow for proper airflow. -
Experiment with Cheese
If you want to make your garlic bread even cheesier, try adding some shredded mozzarella or cheddar cheese on top of the garlic butter mixture before air frying. This will give your bread a gooey, cheesy finish. -
Customize the Herbs
Feel free to get creative with the herbs you use. Basil, oregano, and thyme are great additions that will bring a more aromatic and complex flavor to your garlic bread. -
Use Fresh Garlic for Best Results
While garlic powder can work in a pinch, fresh garlic provides a much stronger and more authentic flavor that really shines through in garlic bread.
Creative Variations of Air Fryer Garlic Bread
Air fryer garlic bread is already a delicious treat, but you can take it up a notch with some creative variations. Whether you’re looking to change the flavor profile, add extra cheese, or even make it more substantial, there are plenty of ways to personalize your garlic bread. Here are a few ideas to help you get creative with your garlic bread:
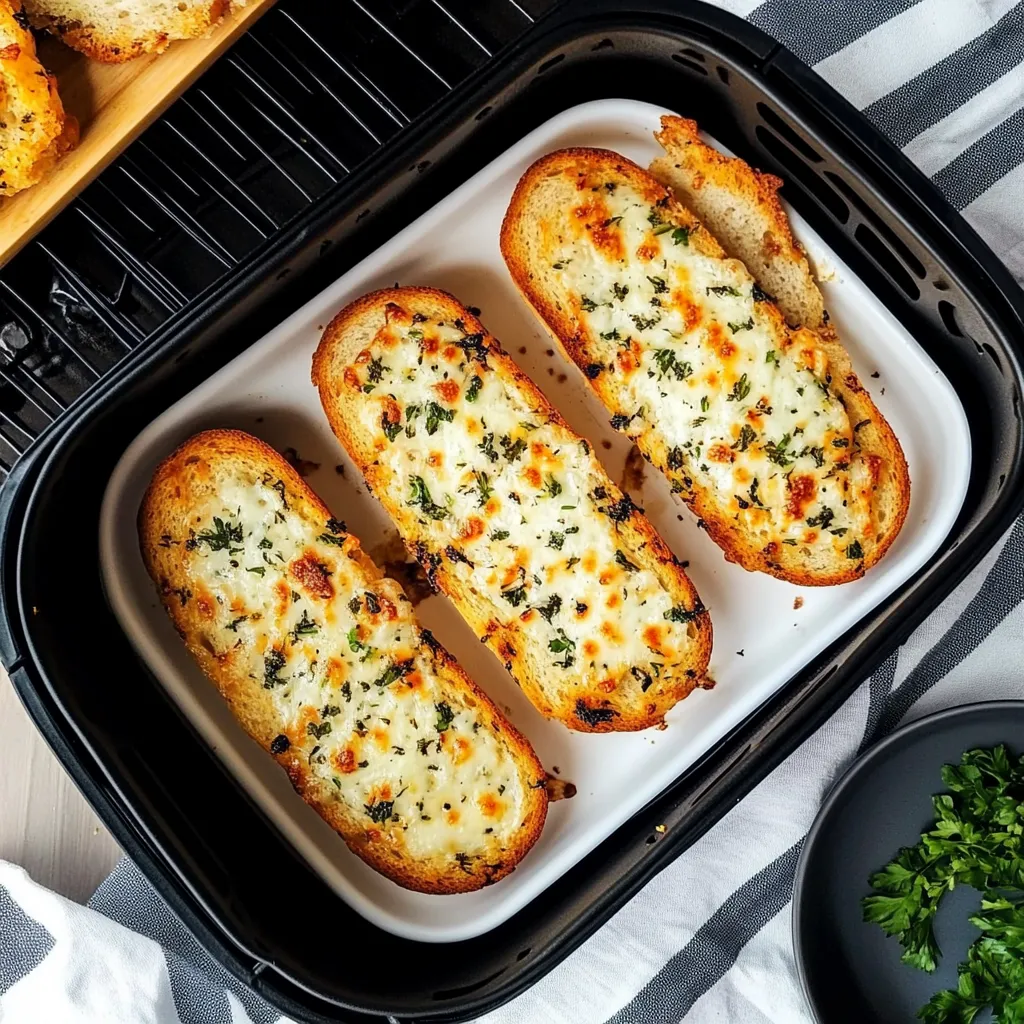
1. Cheesy Garlic Bread
For those who love cheese, adding a layer of melted mozzarella or cheddar on top of your garlic bread will make it even more indulgent. After applying the garlic butter mixture, sprinkle a generous amount of shredded mozzarella or cheddar cheese over the top. Air fry for an extra minute or two until the cheese is melted and bubbly. You can also add a bit of parmesan for a double cheese experience.
2. Herb-Infused Garlic Bread
Want to add more herbs to enhance the flavor? Try experimenting with fresh or dried herbs. Add a teaspoon of fresh thyme, rosemary, or oregano to your garlic butter mixture to bring an aromatic touch to the garlic bread. If you love Mediterranean flavors, try adding some fresh basil or a sprinkle of red pepper flakes for a spicy twist.
3. Garlic Bread with Tomato and Basil
This variation takes garlic bread to the next level by turning it into a simple appetizer or side. After air frying your garlic bread, top it with diced tomatoes, fresh basil leaves, and a drizzle of olive oil. This version works especially well when paired with Italian dishes like pasta or soup.
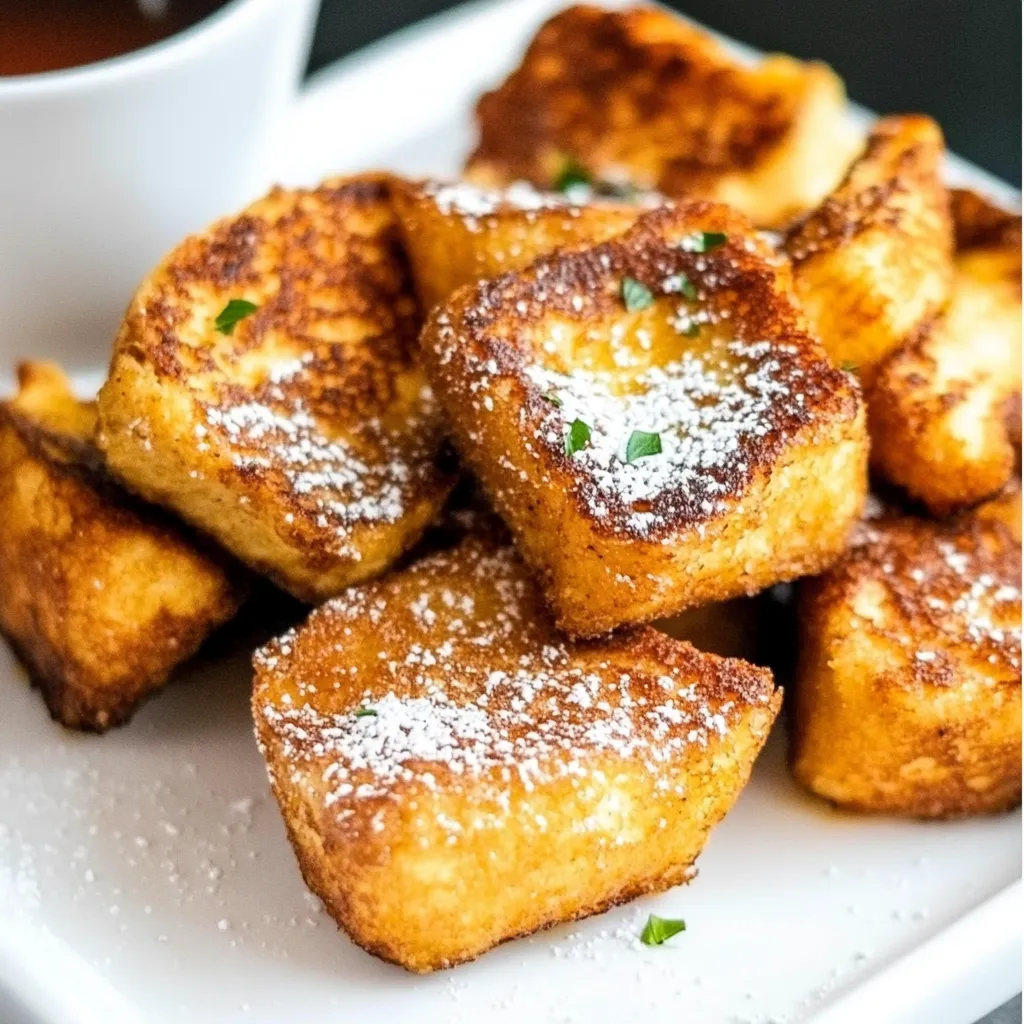
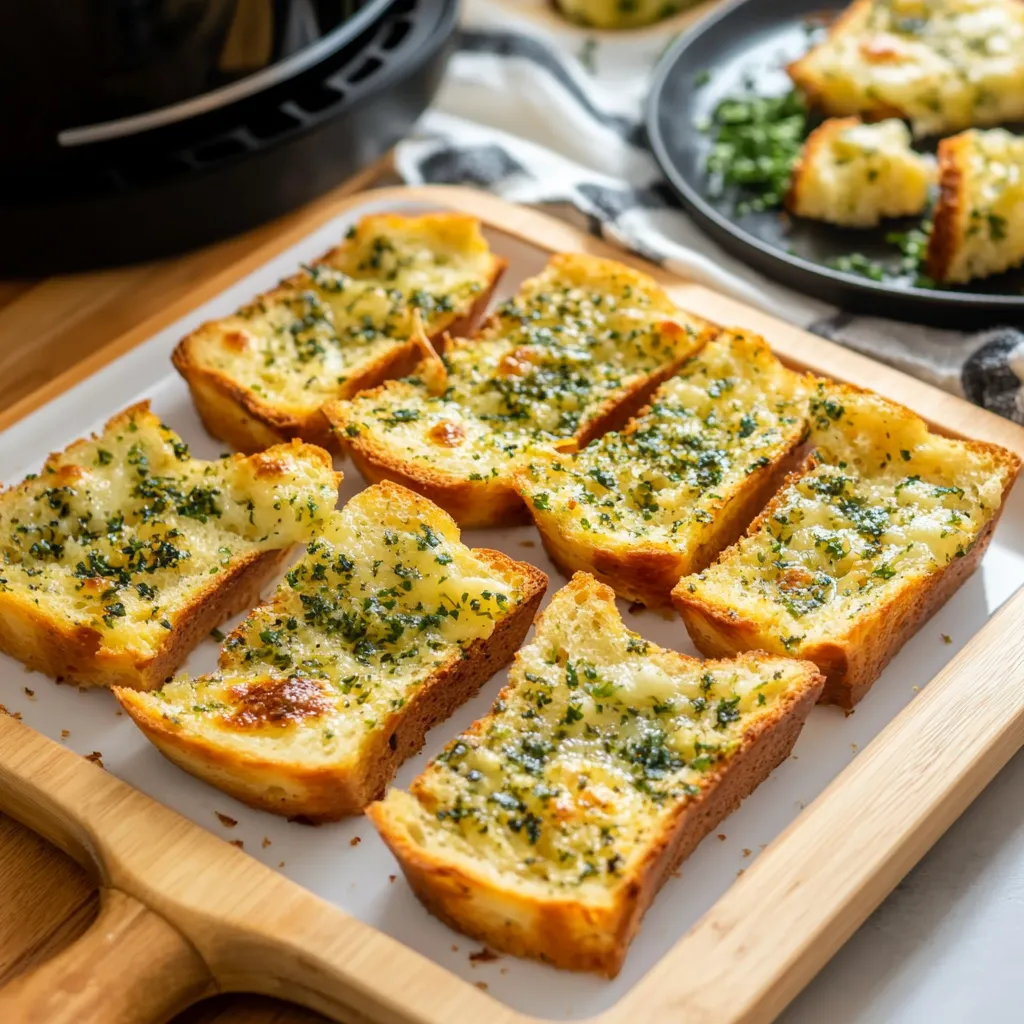
4. Garlic Bread Bites
For a fun twist, cut your bread into bite-sized pieces before applying the garlic butter. This variation is perfect for serving as an appetizer or snack, and the smaller size ensures that every bite gets a generous amount of garlic butter. You can also serve these as a party snack with dipping sauces like marinara or ranch.
5. Vegan Garlic Bread
If you’re following a plant-based diet, it’s easy to make vegan garlic bread. Swap the butter for a plant-based alternative such as vegan margarine or olive oil. Use a vegan cheese like nutritional yeast or a dairy-free mozzarella to give it that cheesy flavor. With just a few simple substitutions, you can still enjoy a delicious garlic bread without compromising your dietary needs.
6. Garlic Bread with Mushrooms
For a more hearty and savory garlic bread, consider adding sautéed mushrooms on top before air frying. The mushrooms add an earthy, umami flavor that pairs perfectly with the garlic butter. You can also add a bit of balsamic vinegar to the mushrooms while sautéing to bring out their natural sweetness.
7. Garlic Bread with Bacon
If you’re a fan of savory flavors, adding crumbled crispy bacon to your garlic bread will give it an irresistible flavor. Simply sprinkle the cooked bacon on top of the garlic buttered bread before air frying. The bacon adds a salty crunch that contrasts beautifully with the creamy, buttery garlic.
Storing and Freezing Air Fryer Garlic Bread
While garlic bread is best enjoyed fresh, you can certainly store or freeze any leftovers for later enjoyment. Here’s how you can keep your air fryer garlic bread fresh and ready to reheat:
Storing Leftovers
If you have leftover garlic bread, simply place it in an airtight container or wrap it tightly in plastic wrap. Store it in the fridge for up to 3 days. When you’re ready to enjoy it again, reheat it in the air fryer at 350°F (175°C) for about 2-3 minutes to crisp it up again. Be sure to avoid microwaving it, as this can make the bread soggy.
Freezing Garlic Bread
To freeze air fryer garlic bread, first allow it to cool completely. Once cooled, you can either freeze the entire loaf or individual slices. For best results, freeze the slices in a single layer on a baking sheet until solid, then transfer them to a freezer bag or airtight container. When you’re ready to enjoy them, air fry straight from frozen at 340°F (170°C) for 5-7 minutes. The bread will come out just as crispy as when it was freshly made!
Meal Prep Tips
Air fryer garlic bread is an excellent meal prep option. You can prepare the garlic butter mixture and spread it on your bread slices, then freeze them in a single layer before storing them in a freezer bag. When you’re ready to cook, simply pop them into the air fryer straight from the freezer. This makes for an easy, quick side dish whenever you need it.

Air Fryer Garlic Bread Recipe
Equipment
- Air fryer
- Mixing bowl
- Spoon or spatula
- Bread knife
- Pastry brush
Ingredients
- ½ loaf baguette or 4 slices of sturdy bread ciabatta, sourdough, or Italian bread
- 4 tablespoons unsalted butter softened
- 2 cloves garlic minced
- 2 tablespoons grated Parmesan cheese
- 1 teaspoon dried parsley or 1 tablespoon fresh chopped parsley
- Salt to taste
- Optional: ¼ cup shredded mozzarella or cheddar for cheesy garlic bread
Instructions
- Make Garlic Butter: In a mixing bowl, combine softened butter, minced garlic, Parmesan, parsley, and a pinch of salt. Mix until smooth.
- Prepare the Bread: Slice your baguette or bread into 1-inch thick pieces. Spread a generous layer of garlic butter mixture over each slice.
- Preheat Air Fryer: Set your air fryer to 350°F (175°C). Preheat for 2–3 minutes if required by your model.
- Air Fry: Arrange bread slices in a single layer in the air fryer basket. Cook for 4–6 minutes until golden brown and crispy. For cheesier bread, sprinkle shredded mozzarella or cheddar halfway through cooking.
- Serve: Remove from the air fryer, garnish with extra parsley if desired, and serve warm.
Notes
• Avoid overcrowding the basket for even cooking.
• For a vegan option, use plant-based butter and nutritional yeast instead of cheese.
• Add red pepper flakes for a spicy twist or drizzle olive oil before air frying for extra flavor.