Cheeseburger sliders are a mouthwatering and convenient twist on the traditional burger. These bite-sized delights pack all the flavors of a classic cheeseburger but in a more portable and shareable form. Whether you’re hosting a party, preparing a quick dinner, or simply looking for a fun and customizable snack, cheeseburger sliders are a game changer. They are easy to make, perfect for meal prep, and can be adapted to suit a wide range of tastes. Let’s dive into this ultimate guide on cheeseburger sliders, where we explore everything from the best ingredients to clever tips for perfecting your sliders every time.
What Are Cheeseburger Sliders?
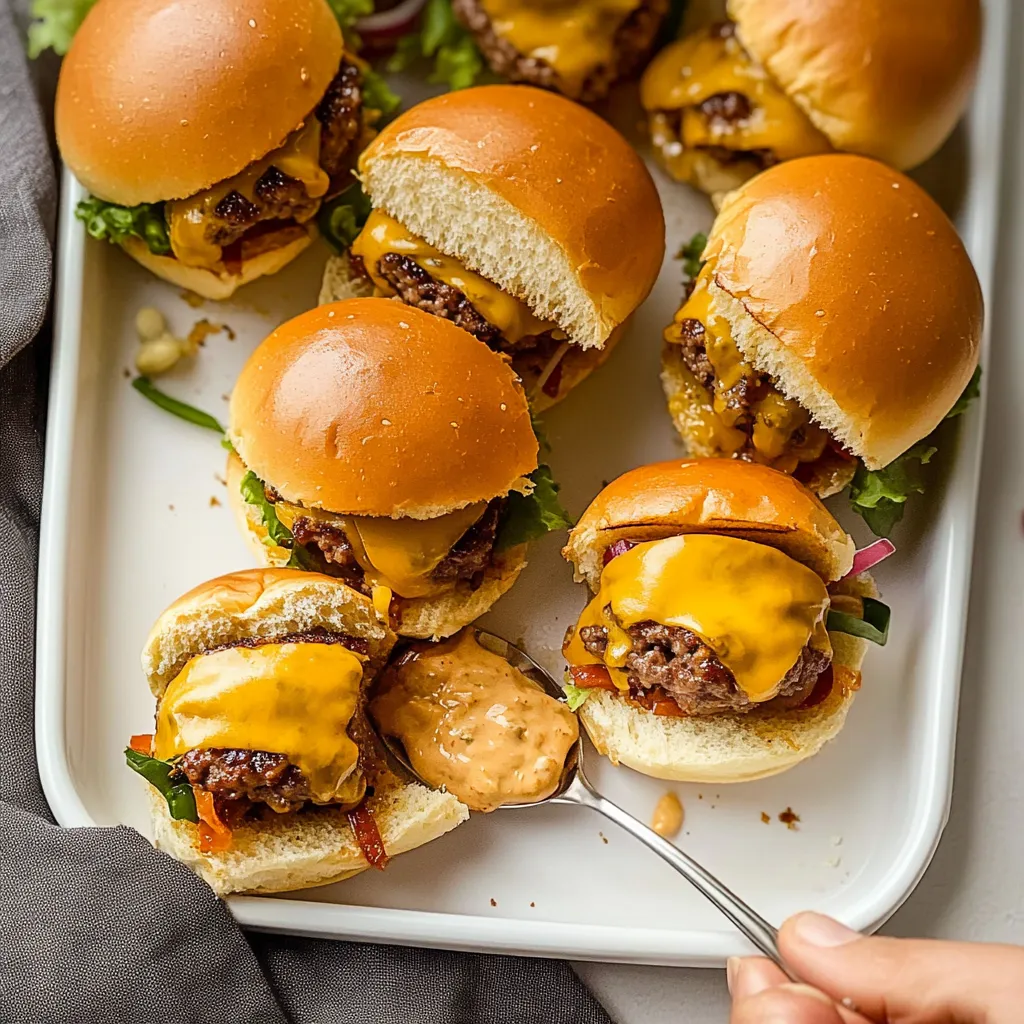
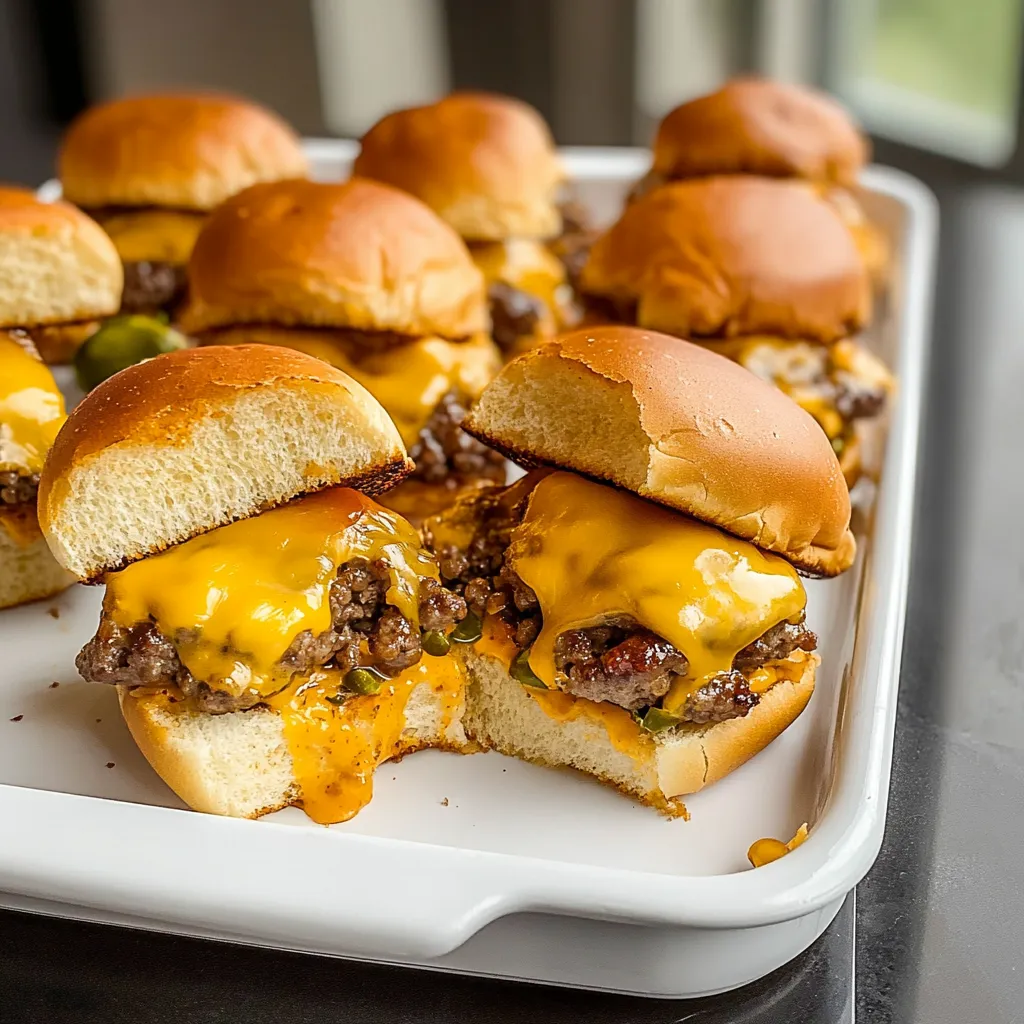
Cheeseburger sliders are small, bite-sized sandwiches made from seasoned beef patties, topped with melted cheese, and served in mini buns. Often baked in a casserole-style pan, these sliders are perfect for gatherings, family dinners, and even for a fun weeknight meal. Unlike traditional hamburgers, sliders are smaller and more manageable, making them ideal for serving a crowd without the hassle of grilling each burger individually.
Ingredients You’ll Need for Perfect Cheeseburger Sliders
To make the best cheeseburger sliders, it’s important to use the right ingredients that complement the flavor and texture of the beef. Here’s a breakdown of the essential ingredients:
1. Ground Beef:
The foundation of any cheeseburger slider is the beef patty. For the best flavor and texture, use lean ground beef, such as 90/10 or 93/7. A higher fat content, like 80/20, is acceptable, but be prepared to drain the excess fat to avoid soggy sliders.
2. Dinner Rolls:
For slider buns, dinner rolls work best. Choose soft, pillowy buns that can hold up to the beef and cheese without falling apart. Some people prefer sweet Hawaiian rolls for added flavor, while others stick to classic white dinner rolls. Either way, make sure to use fresh, quality buns for a satisfying bite.
3. Cheese:
Cheddar cheese is a popular choice for cheeseburger sliders. You can use a combination of sliced and shredded cheese to ensure you get that gooey, melty texture in every bite. Other cheese options like American cheese, Swiss, or mozzarella can also be substituted depending on personal preference.
4. Condiments and Toppings:
Classic condiments such as ketchup, mustard, mayonnaise, and pickles are perfect for cheeseburger sliders. Feel free to get creative by adding lettuce, tomatoes, or even sautéed onions. The versatility of sliders makes them a great base for customization.
The Best Way to Make Cheeseburger Sliders
Let’s go step-by-step on how to make cheeseburger sliders that everyone will love.
Step 1: Preheat Your Oven
Preheat your oven to 350°F (175°C) and prepare a rimmed baking sheet by greasing it lightly with butter or oil. This ensures that the buns don’t stick during baking.
Step 2: Cook the Ground Beef
In a large skillet, heat olive oil over medium-high heat. Add diced onions and sauté until softened, around 3-4 minutes. Next, add the ground beef, breaking it apart with a spatula as it cooks. Season the beef with salt, pepper, and garlic powder. Cook until the beef is browned and fully cooked through.
Once the beef is cooked, tilt the skillet to drain off any excess fat. This is crucial to avoid greasy cheeseburger sliders. Stir in mayonnaise to add creaminess and moisture to the beef mixture.
Step 3: Prepare the Slider Rolls
While the beef is cooking, cut the dinner rolls in half horizontally. Lay the bottom halves of the buns on the prepared baking sheet. If you like, you can lightly butter the buns to add a golden, crispy texture once they bake.
Step 4: Assemble the Sliders
Start by layering cheese slices on the bottom buns. Spread the ground beef mixture evenly over the cheese, pressing it down gently. Top the beef with shredded cheese for extra cheesy goodness.
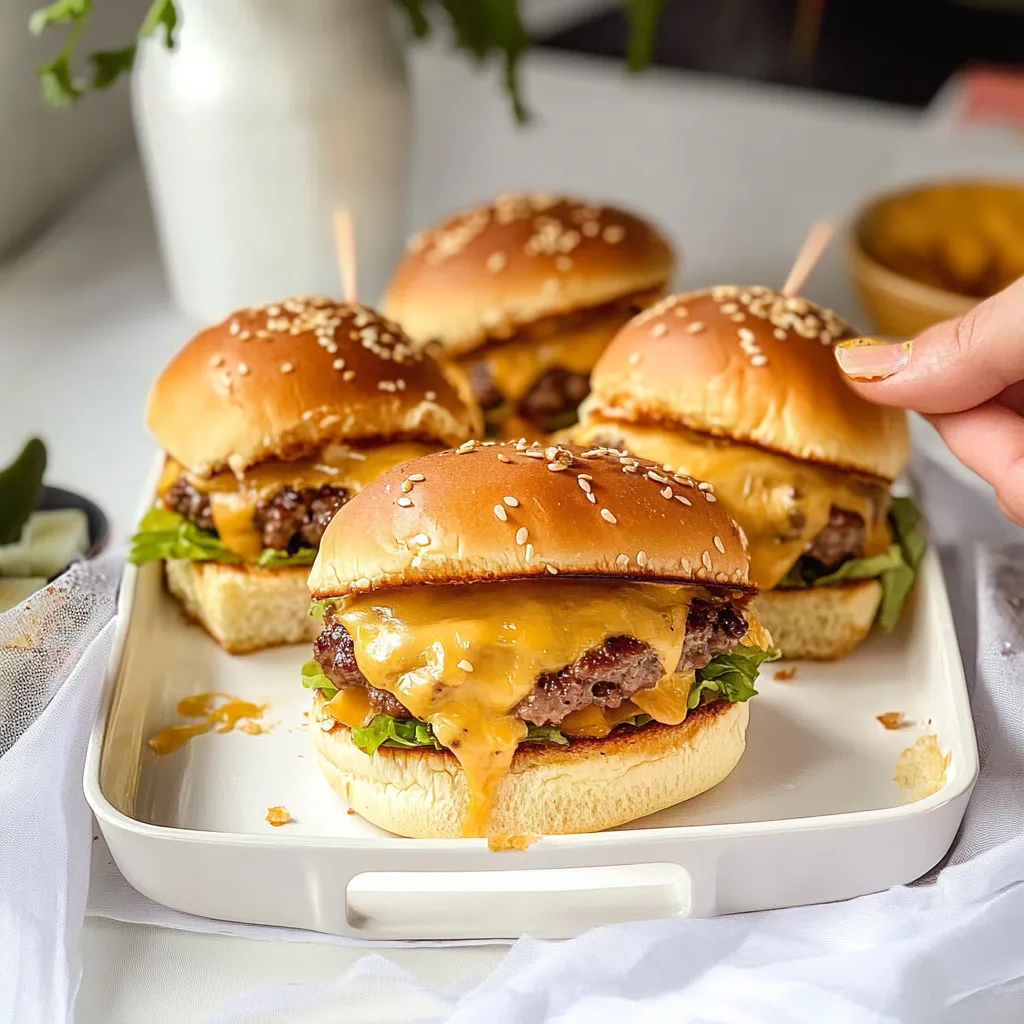
Place the top halves of the rolls over the beef and cheese, then brush the tops of the buns with melted butter. Sprinkle sesame seeds on top for that signature burger look and flavor. You can also skip the sesame seeds or add other toppings like garlic powder or herbs for added flair.
Step 5: Bake the Sliders
Bake the assembled cheeseburger sliders in the preheated oven for 12-15 minutes, or until the cheese is melted and the tops of the buns are golden brown. Keep an eye on them to avoid over-baking, as the sliders can become too dry if left in the oven for too long.
Tips for Perfect Cheeseburger Sliders
To elevate your cheeseburger sliders and make them stand out, here are some tips and tricks you can incorporate into your recipe:
-
Choose the Right Fat Content: Opt for lean ground beef, like 90/10 or 93/7, to avoid excess grease. Drain any remaining fat from the cooked beef to prevent soggy cheeseburger sliders.
-
Layer Cheese for Extra Gooeyness: Use both sliced and shredded cheese for maximum melt and flavor. A combination of sharp cheddar and mild mozzarella works beautifully.
-
Use Fresh Buns: Fresh, soft dinner rolls are key to a successful slider. Avoid stale or overly thick buns that can overwhelm the delicate slider balance.
-
Prep Ahead for Easy Entertaining: Cheeseburger sliders can be prepped a day in advance. Assemble the sliders, cover them, and refrigerate. Just add a few extra minutes to the baking time when cooking from chilled.
What to Serve with Cheeseburger Sliders
Cheeseburger sliders are incredibly versatile and can be paired with a wide range of side dishes. Here are a few ideas to complete your meal:
-
Classic French Fries: Crispy fries are a timeless pairing with burgers and sliders. You can opt for baked fries for a healthier twist or deep-fried fries for a more indulgent option.
-
Pickles: The tangy crunch of dill pickles is a great way to balance the richness of the sliders. You can serve individual pickle slices or offer an assortment of pickled vegetables.
-
Salads: A simple side salad with fresh greens, tomatoes, and a light vinaigrette can complement the heaviness of the cheeseburger sliders without overpowering the flavor.
-
Onion Rings: For a more indulgent choice, serve crispy onion rings alongside your sliders. The sweetness of the onions and the crunchy coating add a delicious contrast to the savory beef.
Can I Make Cheeseburger Sliders Ahead of Time?
Yes! One of the great things about cheeseburger sliders is how well they hold up when made ahead of time. Whether you’re prepping for a party or just want to save time during the week, these sliders can be assembled a day or two in advance.
How to Make Ahead:
Assemble the cheeseburger sliders as instructed but don’t bake them yet. Cover the assembled sliders with plastic wrap or aluminum foil and refrigerate for up to 24 hours. When you’re ready to bake, simply add a few extra minutes to the cooking time to ensure they’re hot and the cheese is melted.
How to Store Leftovers:
If you have leftover cheeseburger sliders, store them in an airtight container in the refrigerator for up to 3 days. To reheat, microwave the sliders for 15-20 seconds or heat them in the oven at 350°F (175°C) for 5-10 minutes.
Variations of Cheeseburger Sliders to Try
While classic cheeseburger sliders are delicious on their own, there are endless ways to customize and elevate them. Whether you prefer a bit of spice, want to try different types of cheese, or are experimenting with a completely unique slider style, these variations will keep things fresh and exciting.
1. Spicy Jalapeño Cheeseburger Sliders
If you love a little heat, adding jalapeños to your cheeseburger sliders can transform them into a fiery delight. Here’s how:
-
Jalapeños: Slice fresh jalapeños and sauté them with the onions for a flavorful kick. You can also add pickled jalapeños directly to the assembled sliders for an extra layer of heat.
-
Hot Sauce: Add a drizzle of your favorite hot sauce to the beef mixture or directly onto the buns.
-
Pepper Jack Cheese: Swap the cheddar cheese for pepper jack cheese to boost the heat and flavor.
These sliders offer a balance of rich, cheesy goodness with a spicy finish that will satisfy your cravings for bold flavors.
2. Bacon Cheeseburger Sliders
What’s better than a cheeseburger slider? One with crispy bacon, of course! Here’s how to make it:
-
Crispy Bacon: Fry up some bacon until it’s crispy, then crumble it and sprinkle it over the ground beef before adding the cheese.
-
Bacon Mayo: For an extra punch, you can mix the mayo with crumbled bacon to create a savory bacon mayo spread that adds flavor to every bite.
The smoky, salty bacon complements the juicy beef and melted cheese, making these sliders a bacon lover’s dream.
3. Mushroom Swiss Cheeseburger Sliders
If you’re a fan of mushrooms, this variation will take your cheeseburger sliders to the next level:
-
Sautéed Mushrooms: Sauté mushrooms in butter until golden brown and tender. Then, add them on top of the beef before covering with Swiss cheese.
-
Swiss Cheese: Instead of cheddar, swap it out for Swiss cheese, which melts beautifully and has a mild, nutty flavor that pairs perfectly with the earthy mushrooms.
These sliders are savory, rich, and offer a great alternative to traditional flavors.
4. BBQ Cheeseburger Sliders
For a tangy twist on the classic cheeseburger slider, add some barbecue sauce and make it BBQ-style:
-
BBQ Sauce: Mix a generous amount of your favorite BBQ sauce into the beef mixture or use it as a topping before baking the sliders. The smoky and sweet flavors will infuse into the beef for a mouthwatering taste.
-
Coleslaw: Add a layer of creamy coleslaw on top of the slider before serving to balance the BBQ flavors with a crunchy and tangy texture.
BBQ cheeseburger sliders are perfect for cookouts or casual get-togethers and are sure to be a crowd favorite.
5. Veggie Cheeseburger Sliders
For those who prefer a vegetarian option or are looking to cut back on meat, veggie sliders are a great choice. You can still enjoy the flavor and texture of a cheeseburger slider without the beef.
-
Vegetarian Patty: Use a store-bought veggie burger patty or make your own using black beans, lentils, or quinoa. The texture is firm enough to hold up to the toppings.
-
Cheese and Toppings: Add your favorite cheese (cheddar works well) and load up on classic slider toppings like lettuce, tomatoes, and pickles.
These sliders offer the same satisfaction as a regular cheeseburger slider, with a healthier twist.
Pairing Drinks with Cheeseburger Sliders
A great drink pairing can enhance the flavors of your cheeseburger sliders. Whether you’re enjoying a casual weeknight dinner or hosting a party, the right beverage can bring the whole meal together.
1. Beer Pairings
Beer is a natural choice to accompany cheeseburger sliders, as the carbonation and slight bitterness help to cut through the richness of the beef and cheese. Here are a few great beer options to pair with your sliders:
-
IPA (India Pale Ale): The hoppy bitterness of an IPA complements the savory beef and cheese, especially if you’re serving spicy or BBQ sliders.
-
Pale Ale: A crisp and balanced pale ale pairs well with all types of sliders, providing a clean, refreshing taste.
-
Stout: For a richer, deeper flavor, try a stout, especially if you’re making a bacon or mushroom version of the sliders.
2. Non-Alcoholic Beverages
If you prefer a non-alcoholic drink, there are plenty of options that complement the savory flavors of cheeseburger sliders:
-
Iced Tea: A classic, refreshing choice. Opt for a lightly sweetened iced tea to balance the richness of the sliders.
-
Lemonade: The tangy, citrusy flavor of lemonade provides a bright contrast to the savory flavors of the sliders.
-
Sparkling Water: For a simple and elegant choice, sparkling water with a slice of lemon or lime adds a crisp, refreshing element without overpowering the flavors.
3. Milkshakes
For a more indulgent pairing, a milkshake can take your cheeseburger sliders to a whole new level. Try pairing classic cheeseburger sliders with vanilla, chocolate, or even strawberry milkshakes. The creamy sweetness complements the savory flavor of the beef and cheese.
Creative Presentation Ideas for Cheeseburger Sliders
The way you present your cheeseburger sliders can add a fun, creative element to your meal. Here are a few ideas to make your sliders even more exciting:
-
Skewers: Stack your cheeseburger sliders on skewers to make them easy to serve and eat. You can even use mini wooden skewers for a fun and casual look.
-
Mini Burger Baskets: Serve your sliders in small baskets lined with parchment paper for a fun, diner-inspired presentation.
-
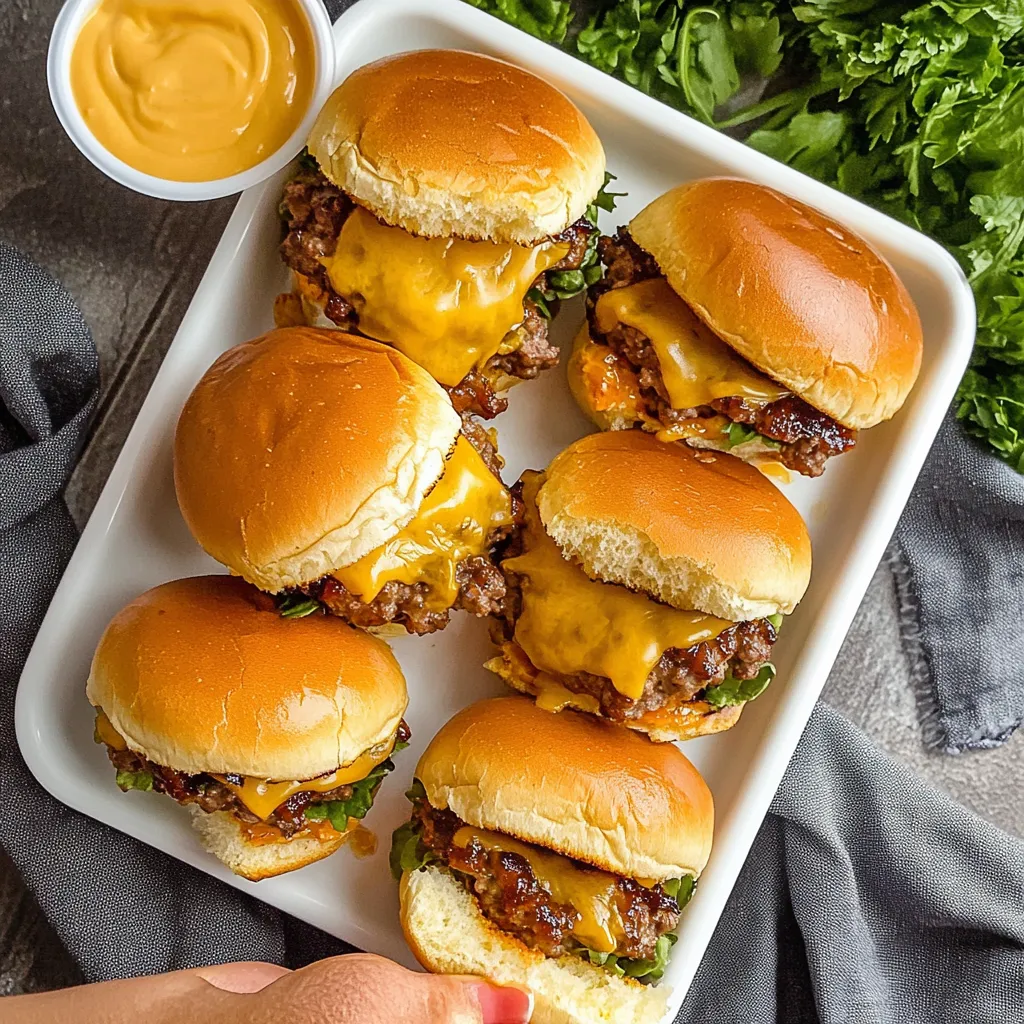
Burger Platter: Arrange the sliders on a large platter, garnish with fresh herbs or microgreens, and offer an assortment of dipping sauces on the side.
Creative presentation not only makes your meal more visually appealing but also adds an element of fun to the dining experience.
Troubleshooting Common Issues When Making Cheeseburger Sliders
Even with the best recipes, there are sometimes little things that can go wrong when making cheeseburger sliders. Whether it’s the buns becoming soggy or the beef not cooking evenly, here’s a list of common problems and how to avoid them:
1. Soggy Buns
Soggy buns can easily ruin a cheeseburger slider. To prevent this issue, follow these tips:
-
Drain Excess Fat: After cooking the ground beef, make sure to drain any excess fat before assembling your sliders. This keeps the buns from getting soggy from the moisture released by the beef.
-
Toast the Buns: Lightly butter and toast the buns before assembling the sliders. This creates a barrier that prevents the moisture from soaking into the bread.
-
Layer with Cheese: Placing a layer of cheese directly on the bottom buns before adding the beef helps create a protective layer that keeps the buns intact.
2. Overcooked or Dry Beef
If your cheeseburger sliders end up dry or overcooked, it’s usually because the beef was left in the skillet for too long. Here’s how to avoid it:
-
Cook the Beef Just Until Done: Ground beef cooks quickly, and overcooking it can lead to dryness. Be sure to brown the beef just until it’s fully cooked and no longer pink in the middle.
-
Add Moisture: Stir in a little mayonnaise or ketchup to the cooked beef mixture before assembling the sliders. This adds moisture and prevents the beef from becoming dry in the oven.
-
Use the Right Fat Ratio: As mentioned earlier, lean ground beef (90/10 or 93/7) is ideal. If you use a fattier cut, be sure to drain off the excess fat before assembling.
3. Cheese Not Melting Properly
One of the best parts of a cheeseburger slider is the melted cheese. But sometimes, cheese can fail to melt properly. Here’s how to ensure perfect cheese every time:
-
Cover the Sliders While Baking: If the cheese isn’t melting evenly, cover the baking dish with aluminum foil during the first part of the baking process. This traps the heat and helps the cheese melt faster. Remove the foil during the last few minutes to allow the buns to brown.
-
Use Fresh Cheese: Pre-sliced or shredded cheese sometimes doesn’t melt as well as fresh cheese. Consider slicing your cheese from a block to ensure a smooth, meltable texture.
4. Unevenly Cooked Sliders
Sometimes, when baking cheeseburger sliders, they don’t cook evenly. To avoid this:
-
Evenly Spread the Beef: When assembling your sliders, use the back of a spatula to press the beef mixture evenly over the bottom buns. This ensures that the sliders bake evenly and all parts of the beef cook through.
-
Don’t Overcrowd the Baking Sheet: Make sure there’s enough space between each slider to allow proper heat circulation. If they’re too crowded, they may bake unevenly.
How to Make Cheeseburger Sliders the Star of Your Next Event
Whether you’re planning a casual family dinner or a large party, cheeseburger sliders are a guaranteed hit. Here are a few ideas to help you make your sliders the star of your next event:
1. Create a Slider Bar
Set up a slider bar with various toppings, condiments, and sauces, and let your guests build their own cheeseburger sliders. Provide different types of cheese, sauces (like BBQ, ketchup, mustard, mayo, and ranch), and toppings such as lettuce, tomatoes, pickles, bacon, and sautéed onions. This allows everyone to personalize their sliders according to their tastes.
2. Make a Slider Platter
For a more formal presentation, arrange your cheeseburger sliders on a large platter with garnishes like fresh herbs or arugula. Add small bowls of dipping sauces for variety and let guests grab their sliders easily.
3. Mini Cheeseburger Slider Bites for Appetizers
If you’re hosting a more upscale event, serve mini cheeseburger sliders as appetizers. Use smaller buns or cut larger ones into halves and serve with toothpicks for easy eating. These little sliders pack a punch in terms of flavor, and guests can nibble on them without filling up too quickly.
4. Pair with Themed Side Dishes
Serve your cheeseburger sliders with fun side dishes that match the burger theme. For example, try serving sweet potato fries, tater tots, or onion rings as sides. For a healthier twist, serve a side salad with a tangy vinaigrette or roasted vegetables to balance the richness of the sliders.

Conclusion: Why Cheeseburger Sliders Should Be in Your Recipe Rotation
Cheeseburger sliders are a fantastic and versatile addition to your cooking repertoire. With their bite-sized format, they are easy to serve at parties, make for a quick and satisfying weeknight dinner, and can even be customized to suit a variety of dietary preferences and flavor profiles. Whether you’re preparing a classic cheeseburger slider with all the classic toppings or trying out one of the many creative variations, these sliders will never disappoint.
By following the tips and tricks in this guide, you can master the art of making perfect cheeseburger sliders every time. They’re simple to prepare, fun to eat, and guaranteed to be a crowd-pleaser. So, go ahead and give this recipe a try at your next gathering — you’ll have everyone asking for the recipe!

Cheeseburger Sliders Recipe Perfect for Any Occasion
Ingredients
- 2 lb lean ground beef 90/10 or 93/7
- 1/2 tbsp olive oil
- 1 tsp salt
- 1 tsp black pepper
- 1 tsp garlic powder
- 1/2 large yellow onion finely diced
- 1/4 cup mayonnaise
- 8 slices medium cheddar cheese
- 6 oz shredded medium cheddar or use more sliced cheese
- 24 dinner rolls or use 2 packs of 12
- 2 tbsp unsalted butter melted (plus more for greasing the baking sheet)
- 1 tbsp sesame seeds optional
Instructions
- Preheat the oven to 350°F (175°C). Grease the bottom of a rimmed baking sheet with butter.
- In a large skillet, heat olive oil over medium-high heat. Add diced onions and sauté until softened (about 3-4 minutes). Add the ground beef and break it up with a spatula. Season with salt, black pepper, and garlic powder. Cook until the beef is browned and fully cooked through.
- Drain excess fat from the beef mixture and stir in 1/4 cup mayonnaise.
- Cut dinner rolls in half and place the bottom halves on the prepared baking sheet. Layer the bottom buns with sliced cheese. Evenly spread the beef mixture over the cheese and press down gently. Top the beef with shredded cheese.
- Place the top halves of the buns over the beef and cheese. Brush the top of the buns with melted butter and sprinkle sesame seeds on top.
- Bake for 12-15 minutes, or until the cheese is melted and the tops of the buns are golden brown. Remove from the oven and serve.
Notes
- Make-Ahead: You can assemble the sliders up to 24 hours in advance. Cover and refrigerate, then bake as usual, adding 3 extra minutes of cooking time if baking from the fridge.
- Variations: Customize with your favorite cheese, sauces, or toppings such as pickles, lettuce, tomatoes, or even bacon.
- Freezing: These sliders freeze well. Simply assemble and bake, let cool, then wrap individually in plastic wrap and store in the freezer for up to 2 months. Reheat in the oven at 350°F for 10-15 minutes.
Nutritional Facts (Per Serving):
- Calories: 266 kcal
- Carbohydrates: 21g
- Protein: 16g
- Fat: 13g
- Fiber: 1g
- Sugar: 2g
- Sodium: 650mg